Use OpenSSL to simulate TLS 1.3 “Session Resumption”

Thanks the great help from OpenSSL community, I finally can simulate an TLS 1.3 “Session Resumption”. The Operation System I used is OmniOS, and OpenSSL version is 1.1.1k, but I think the methods here can also be applied to other platforms:

(1) Open one terminal to launch tcpdump to capture TLS packets:

$ pfexec /opt/ooce/sbin/tcpdump -w tls.pcap port 443

(2) Open another terminal to initiate the first TLS 1.3 session:

$ openssl s_client -connect cloudflare.com:443 -tls1_3 -sess_out sess.pem -keylogfile keys1.txt
......

Once the connection is established, input “GET /” to trigger TLS 1.3 Server to send “New Session Ticket” message, and this will be saved in sess.pem file.

(3) Initiate another TLS 1.3 session to reuse the saved “Session Ticket“:

$ echo | openssl s_client -connect cloudflare.com:443 -tls1_3 -sess_in sess.pem -keylogfile keys2.txt

(4) Stop the tcpdump process.

(5) Combine two keys file into one:

$ cat keys1.txt keys2.txt > keys.txt

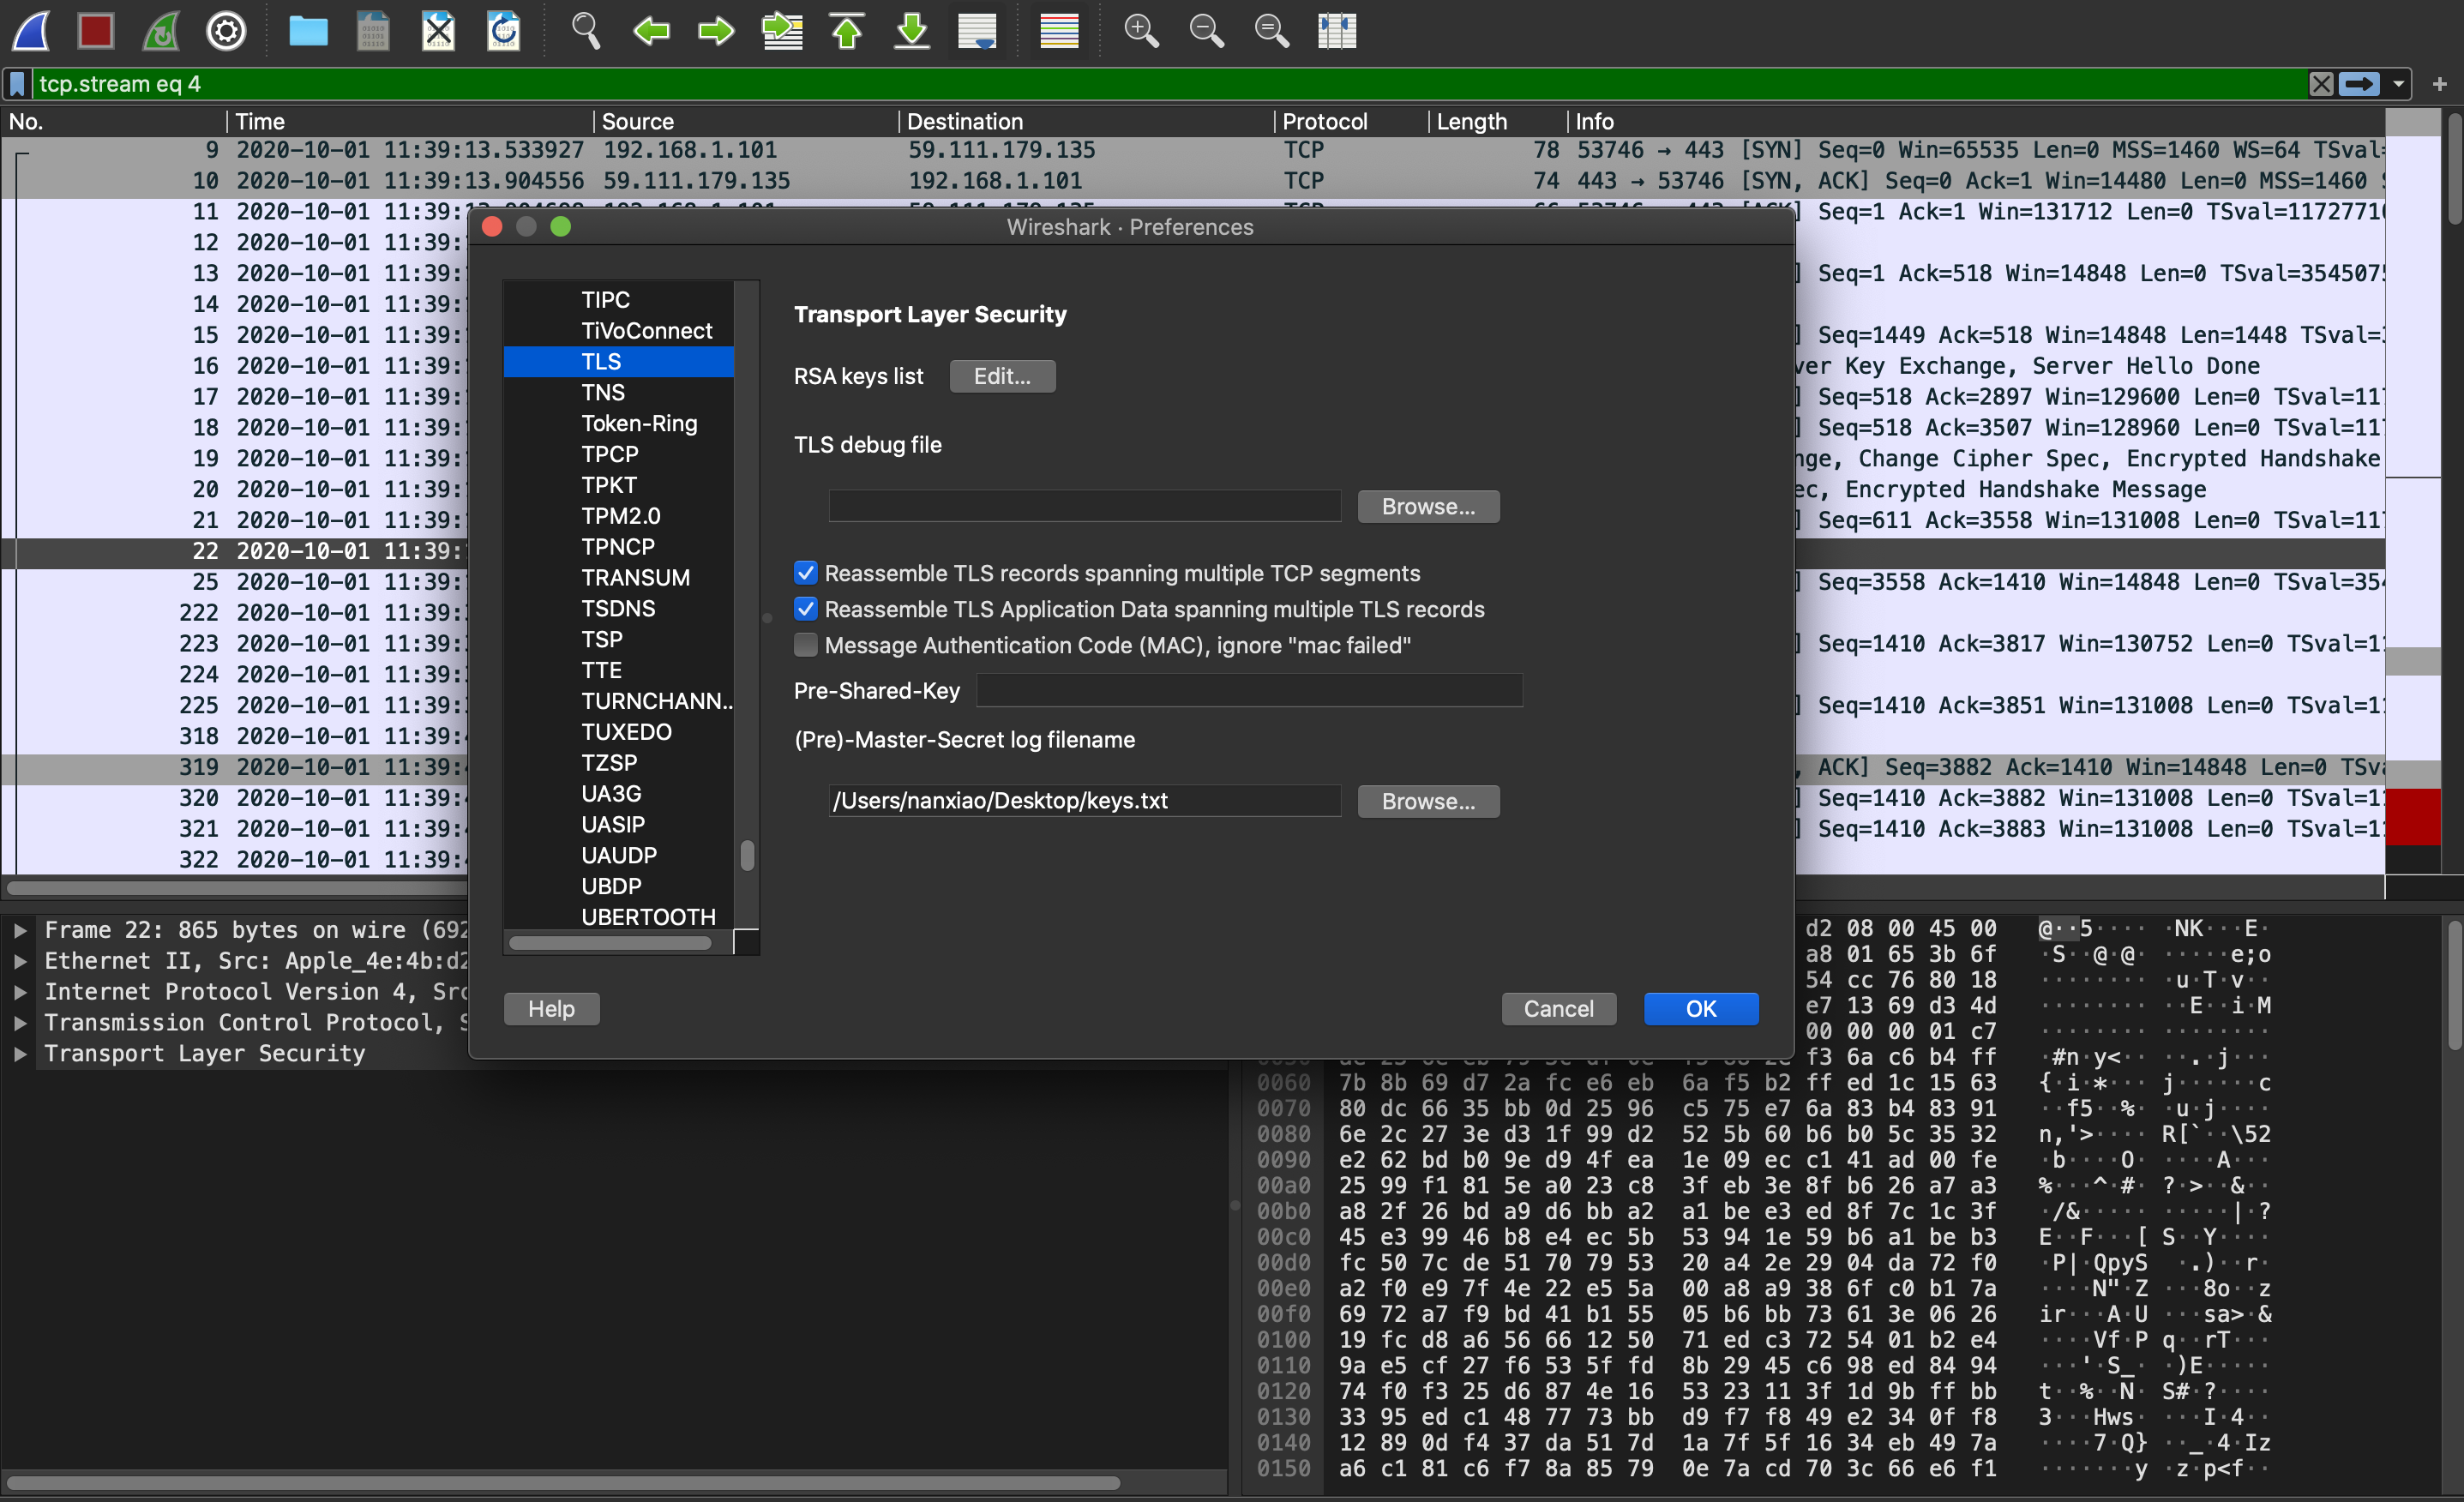
Then the keys.txt can be used to decrypt the two TLS 1.3 sessions (refer Use Wireshark to decrypt TLS flows).

Use Wireshark to decrypt TLS flows

TLS debugging is an awesome introduction of using Wireshark to debug TLS issues (The presentation material can be found here). I just summarise how to decrypt TLS flows here:

(1) Set the filter and capture only TLS flows:

(2) Open chromium and save session secrets in command line:

SSLKEYLOGFILE="$PWD/keys.txt" /Applications/Google\ Chrome.app/Contents/MacOS/Google\ Chrome --user-data-dir=/tmp/cr

(3)After saving pcap file, Load key and decrypt TLS flows:

Wireshark’s support of google QUIC

I am a newbie of QUIC protocol. Now that chrome has enabled supporting gQUIC be default, I want to capture some packets to check. Surprisingly, I opened wireshark, set gquic || quic filter, and tried to access youtube or google, nothing was displayed. But in fact, there were some packets which used gQUIC protocols, i.e., there is “Q050” in following diagram:

I checked wireshark code base, unfortunately, wireshark only supports gQUIC up to Q043(please refer this commit).

Add timestamp for pcap file’s name

I wrote a post about splitting large pcap file into small ones before. After that, you should add timestamp for pcap‘s file name, and it will be easy for you to find related pcap files to process.

Assume there is a folder which includes all pcap files generated by following tcpdump command:

tcpdump -r input.pcap -w ./pcap/frag -C 1000

It will generate ./pcap/frag./pcap/frag1, …, etc. You can use following script to add timestamp for every file:

#!/bin/sh

directory=./pcap
cd "$directory" || exit 1

for old_file_name in *
do
    timestamp=$(tshark -nr "${old_file_name}" -T fields -e frame.time_epoch -c 1)
    new_file_name="${old_file_name}.${timestamp}.pcap"
    mv "${old_file_name}" "${new_file_name}"
done

The file’s name will be fragxx.1542222065.974954000.pcap now.

P.S., the script can be downloaded here.

tshark can’t process macOS’s pcapng file well

Wireshark‘s tshark program can’t process macOS‘s pcapng file well. E.g.:

$ sudo tcpdump -w foo.pcapng
Password:
tcpdump: data link type PKTAP
tcpdump: listening on pktap, link-type PKTAP (Apple DLT_PKTAP), capture size 262144 bytes
^C24 packets captured
27 packets received by filter
0 packets dropped by kernel

Use tshark to read and write the generated foo.pcapng:

$ tshark -r foo.pcapng -w bar.pcapng
tshark: An error occurred while writing to the file "bar.pcapng": Internal error.

I also met following error before:

$ tshark -r apsd-107.pcapng -w foo.pcapng
tshark: The capture file being read can't be written as a "pcapng" file.

macOS has its own bespoke libpcap and tcpdump, so if the pcapng file is generated by tcpdump, using tcpdump itself to process pcapng file seems the only choice.

A workaround is if you don’t care about losing information, you can use wireshark to convert the pcapng file to pcap first: