My Operating System is Windows 7, so this tutorial may be little difference for your environment.
Firstly, you should install Scala 2.10.x version on Windows to run Spark, else you would get errors like this:
Exception in thread "main" java.lang.NoSuchMethodError: scala.collection.immutable.HashSet$.empty()Lscala/collection/immutable/HashSet;
        at akka.actor.ActorCell$.<init>(ActorCell.scala:305)
        at akka.actor.ActorCell$.<clinit>(ActorCell.scala)
        at akka.actor.RootActorPath.$div(ActorPath.scala:152)
        ......
Please refer this post.
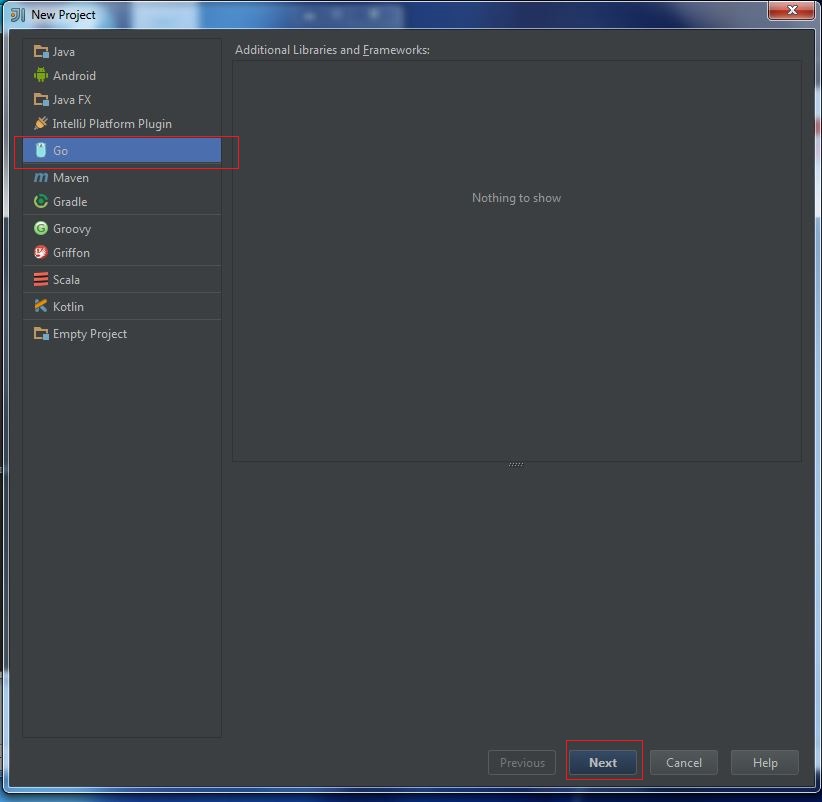
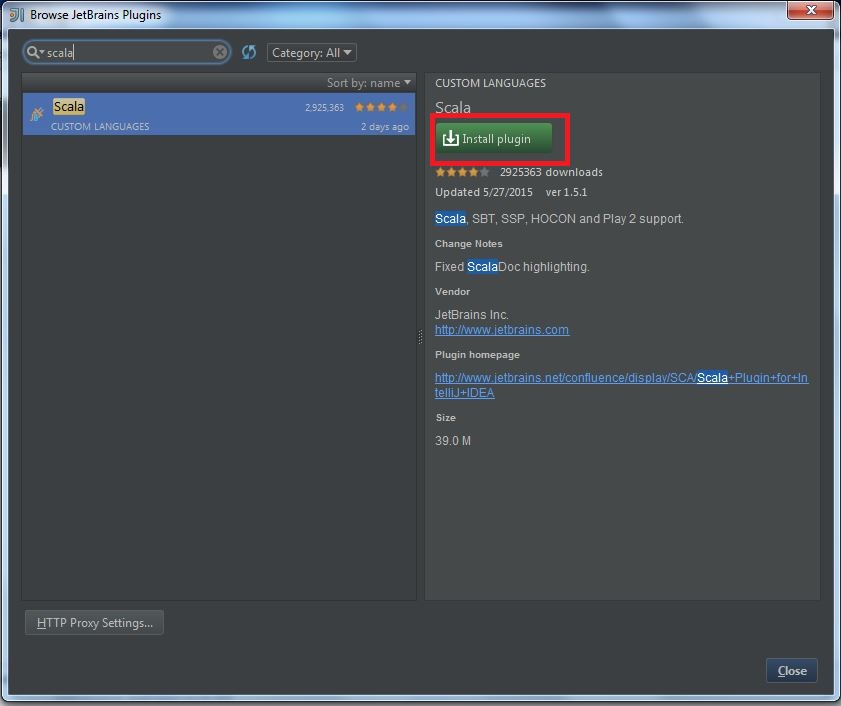
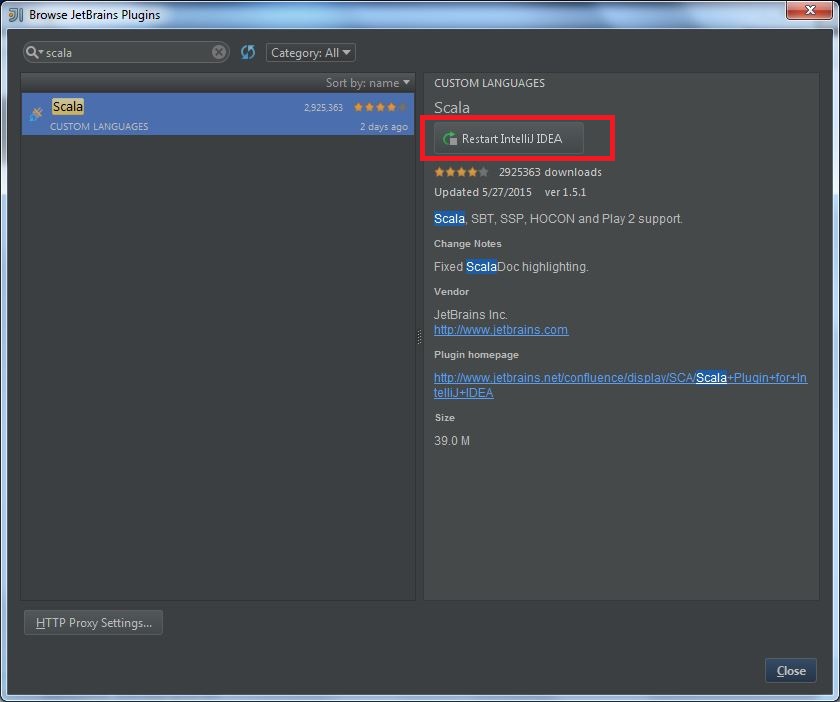
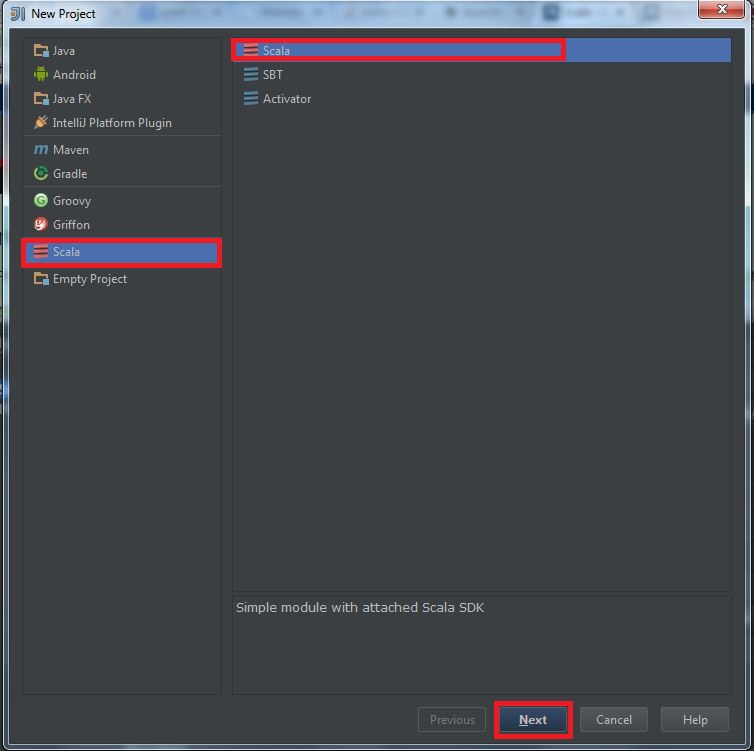
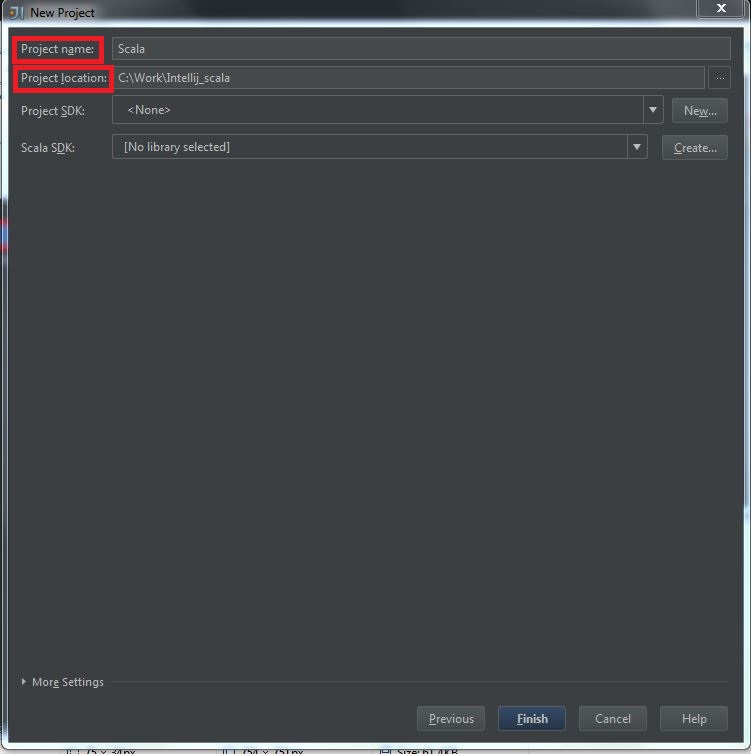
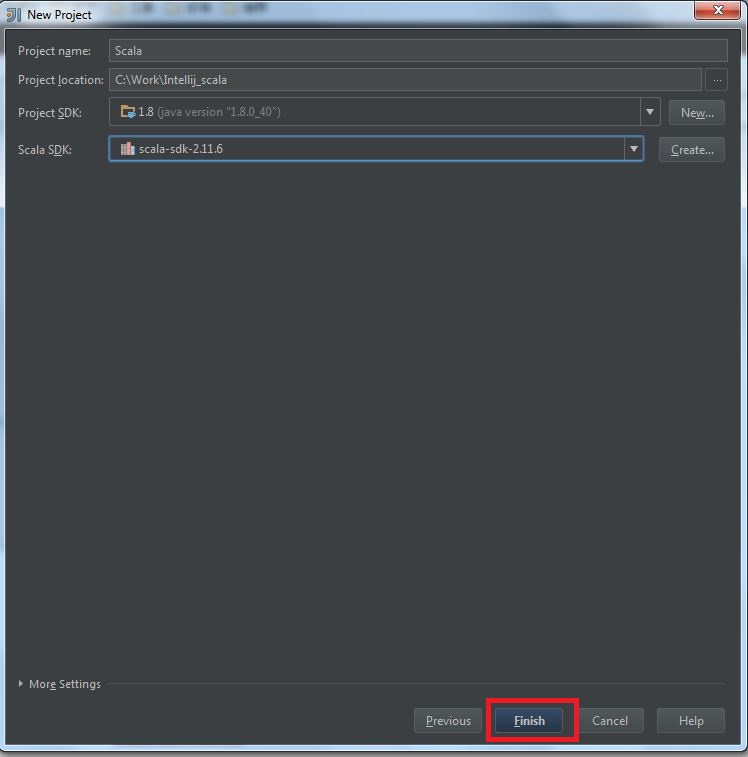
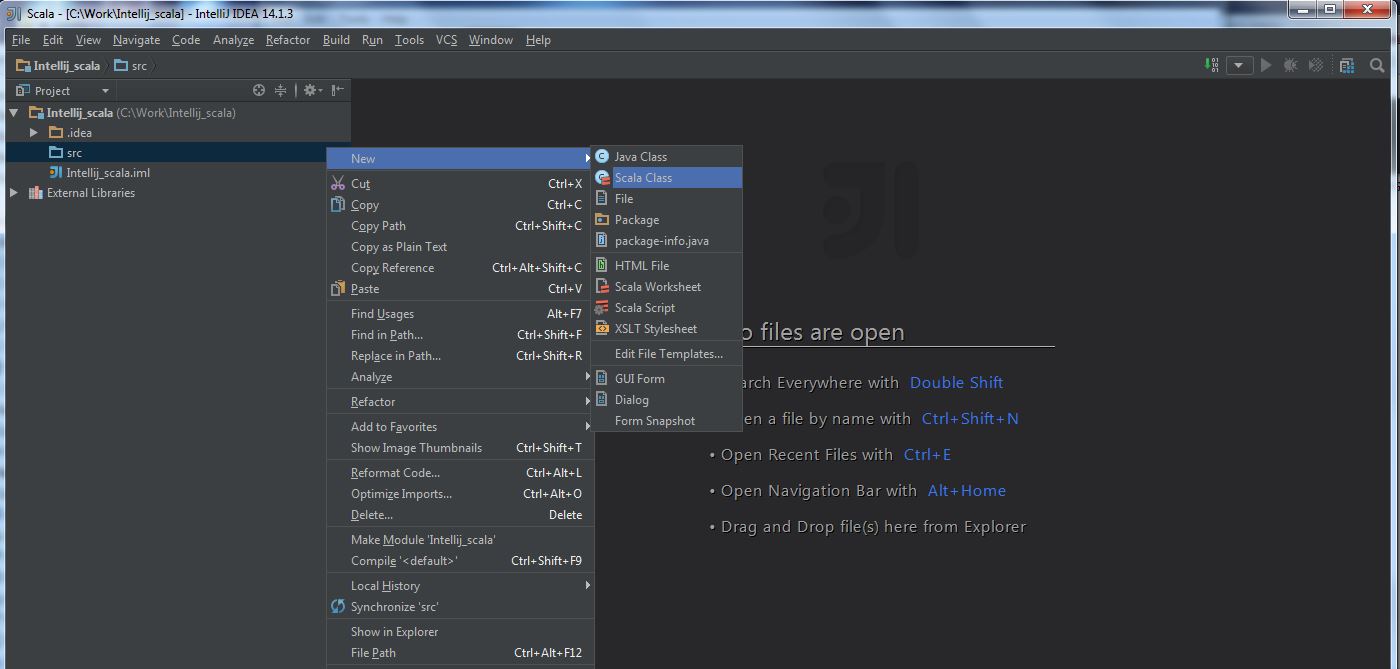
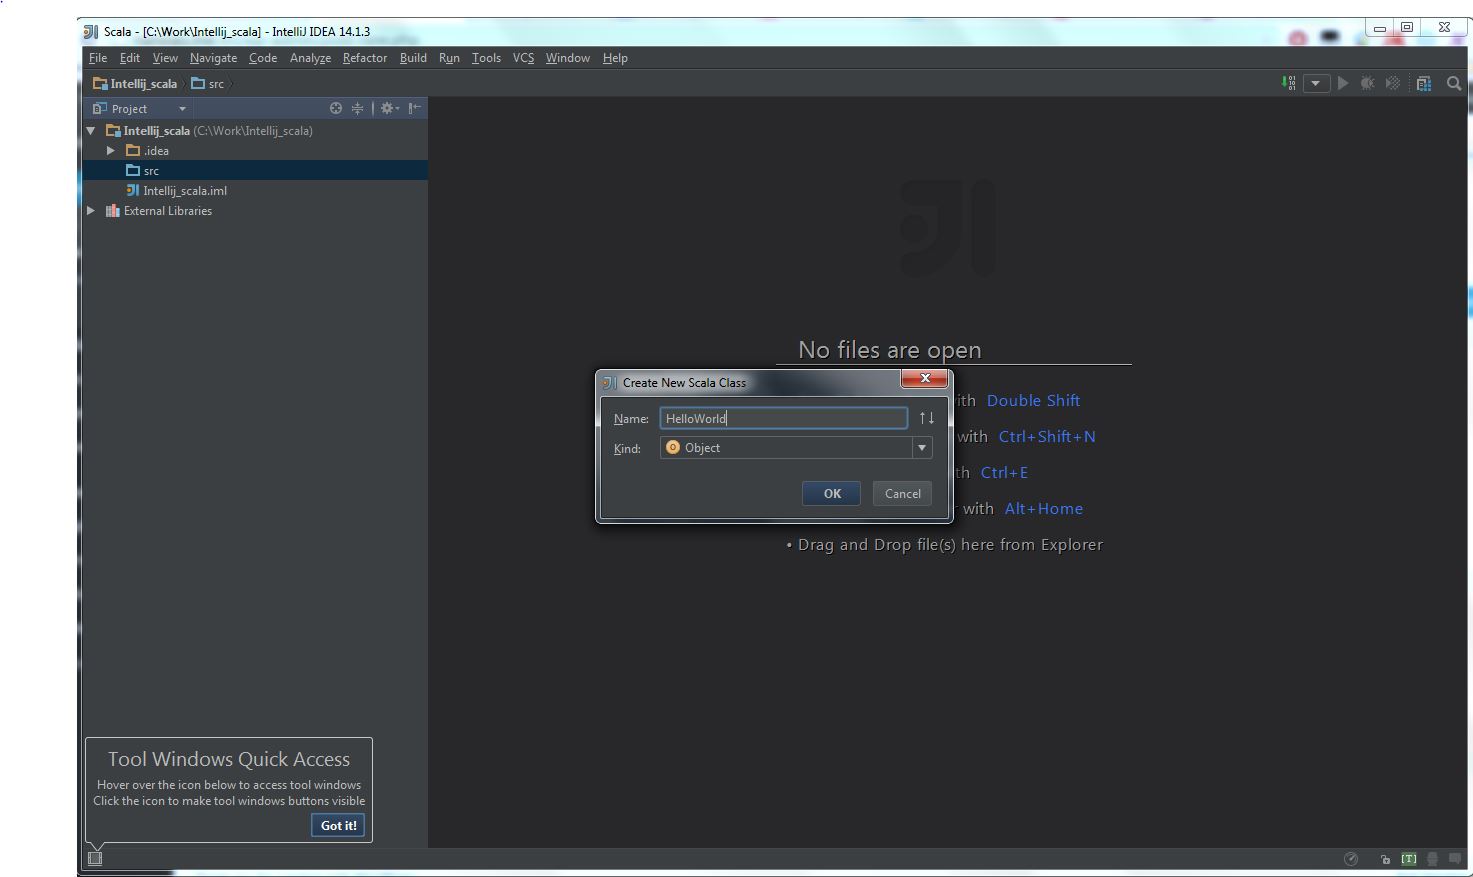
Secondly, you should install Scala plugin and create a Scala project, you can refer this document: Getting Started with Scala in IntelliJ IDEA 14.1.
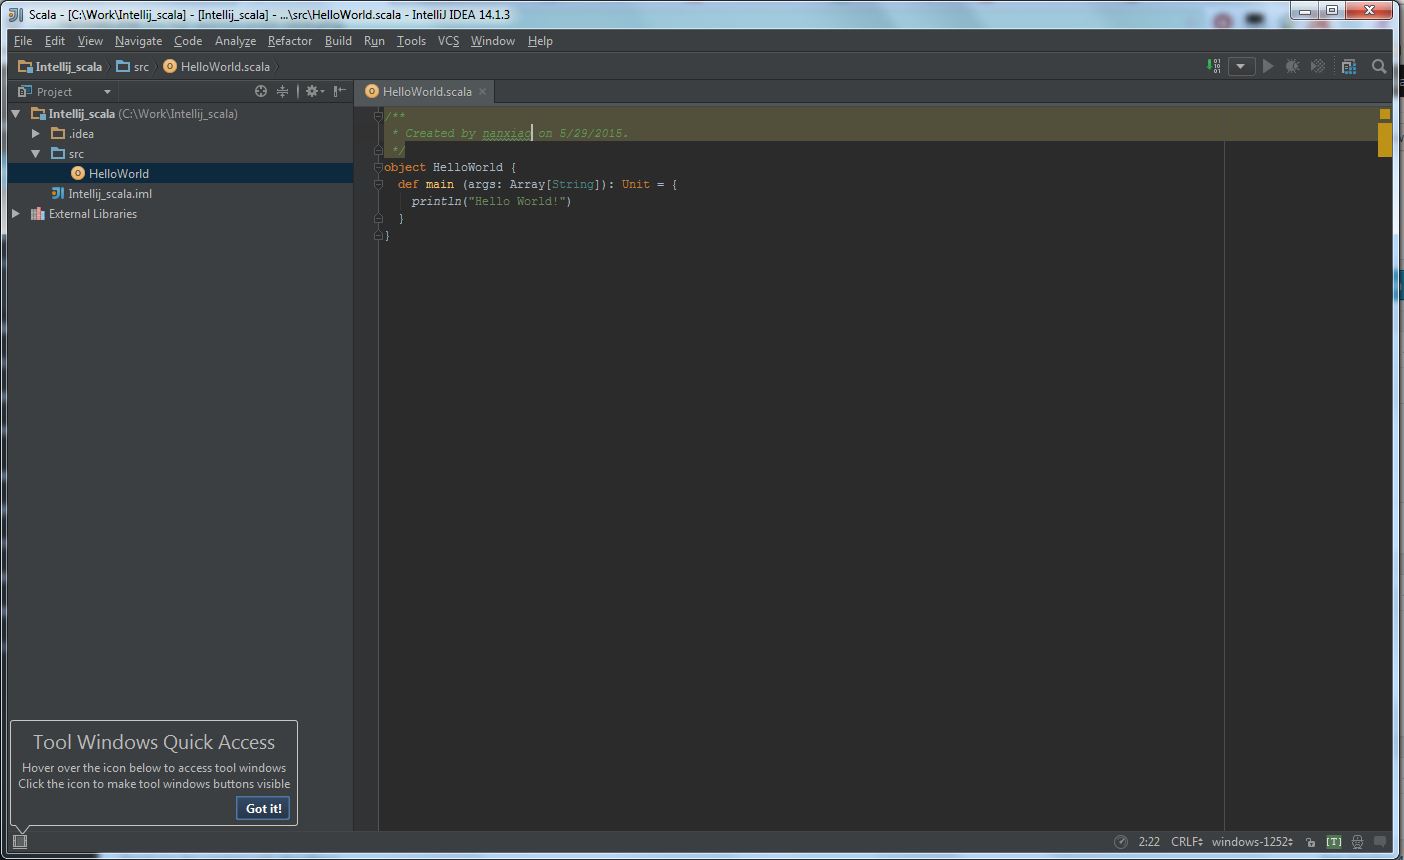
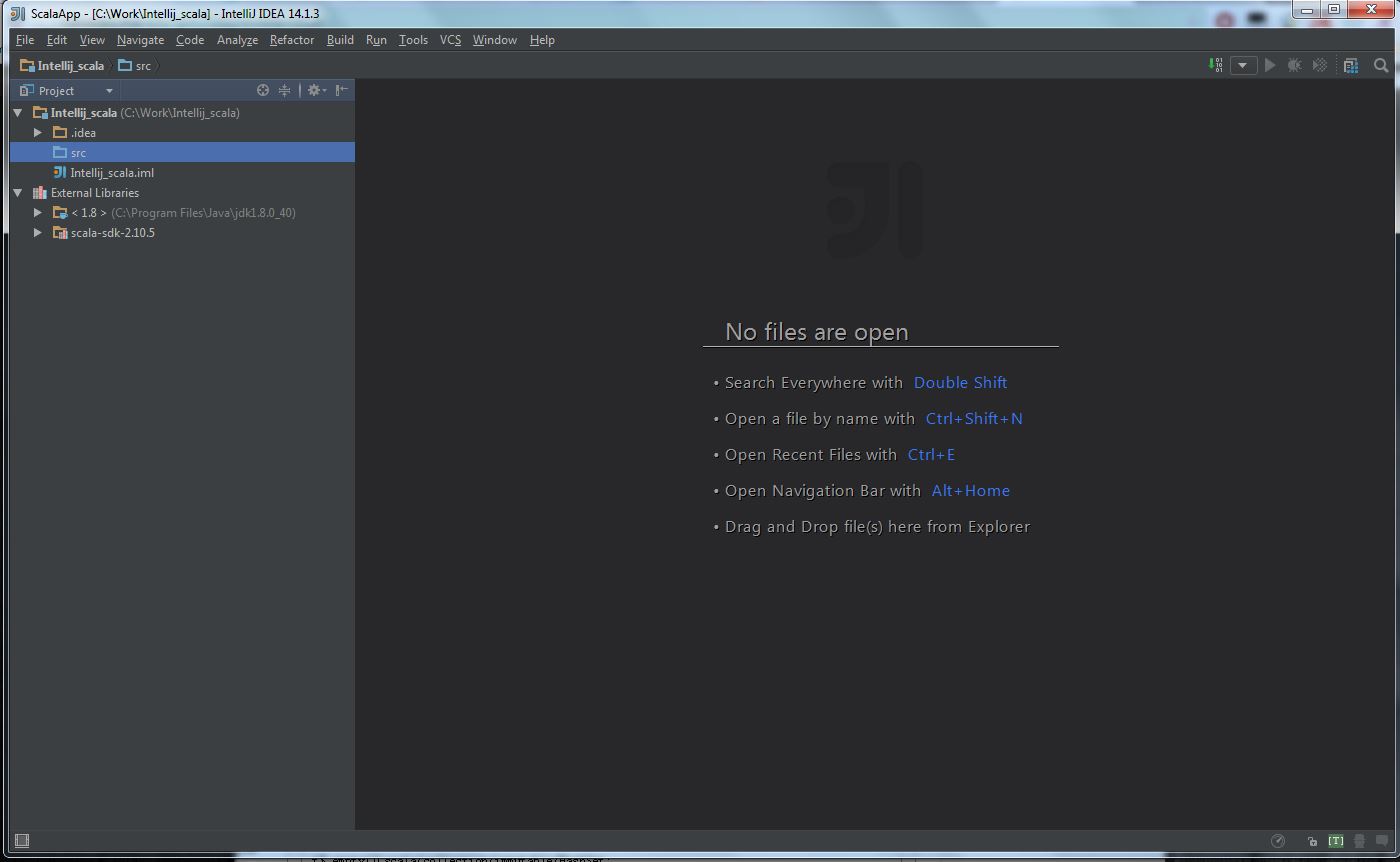
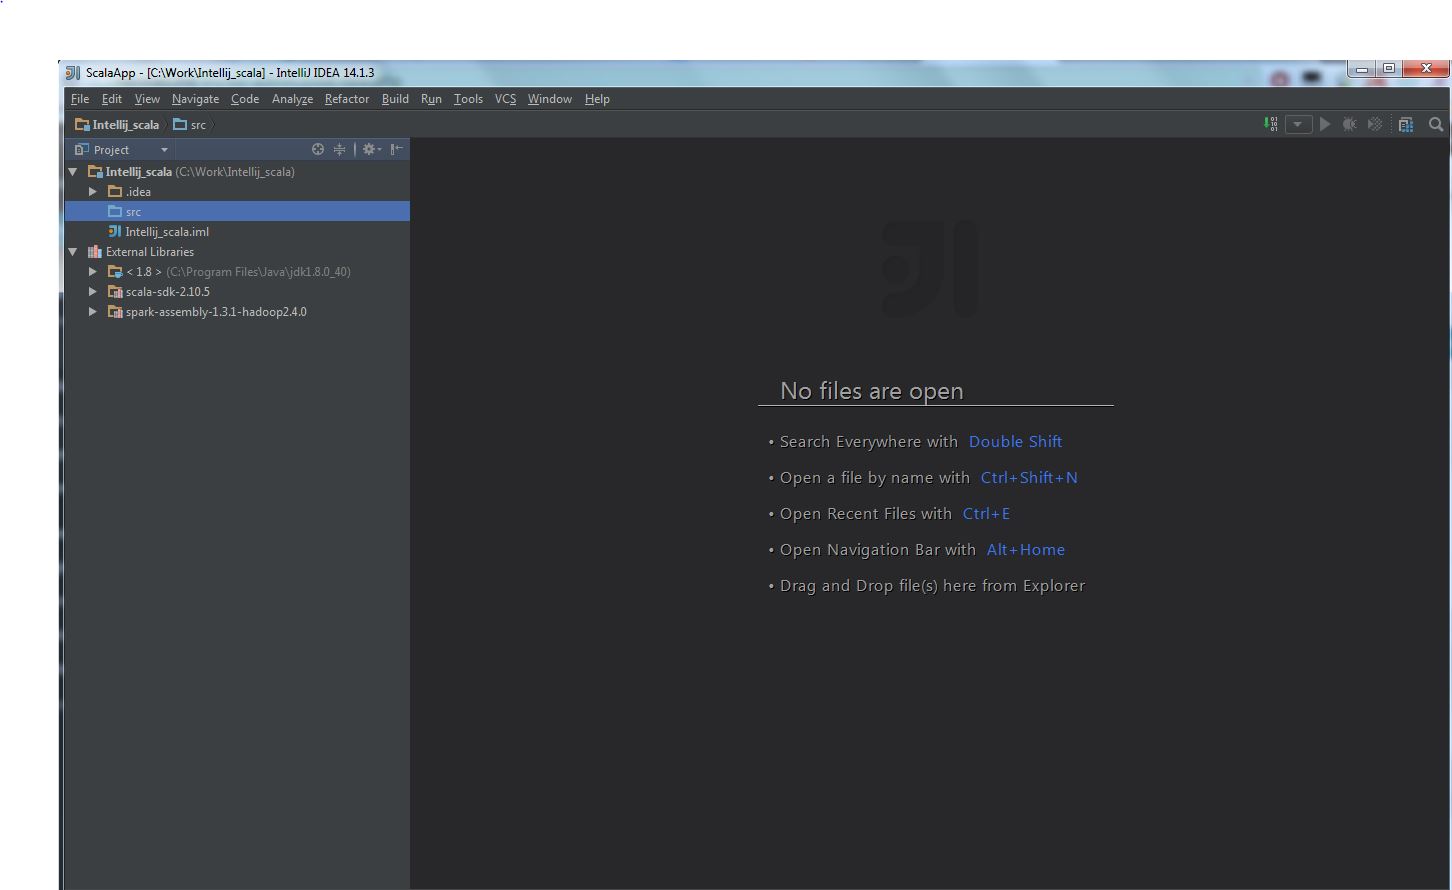
After all the above steps are done, the project view should like this:
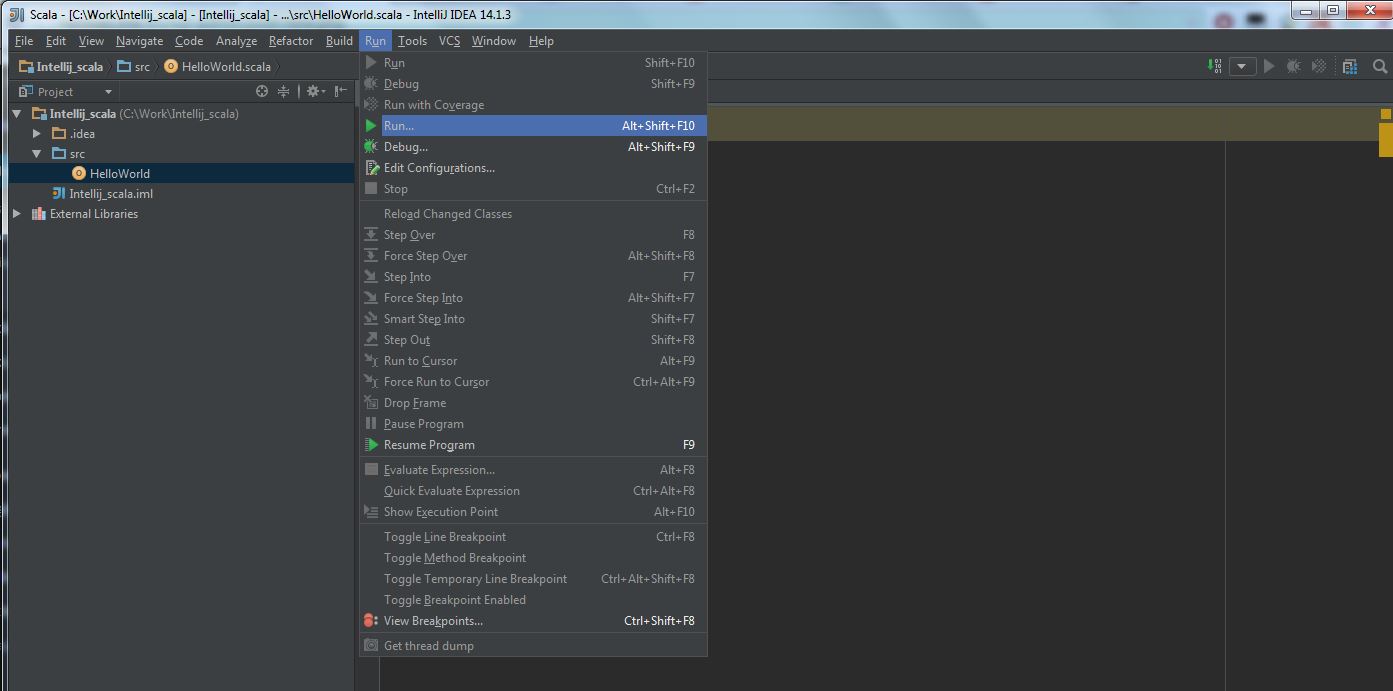
Then follow the next steps:
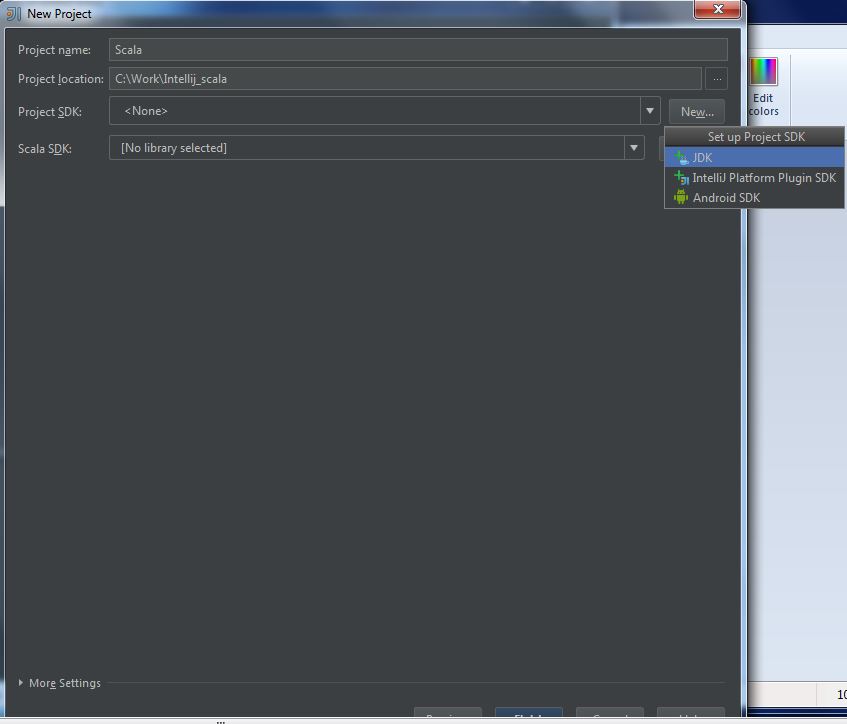
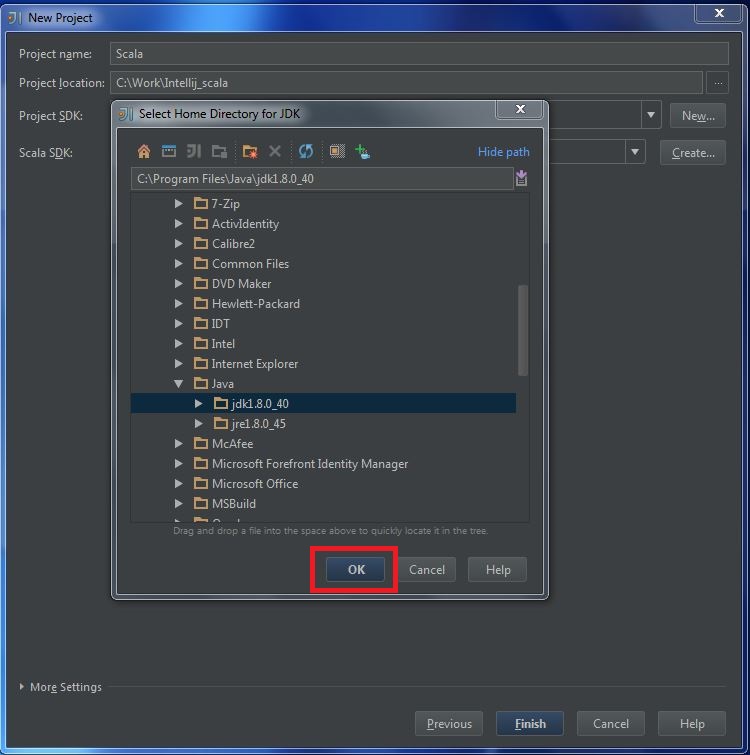
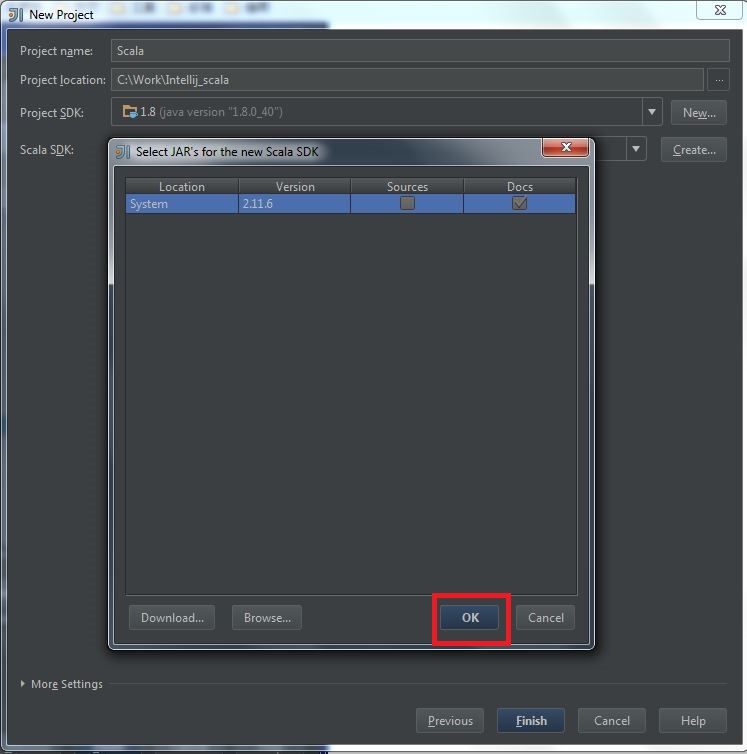
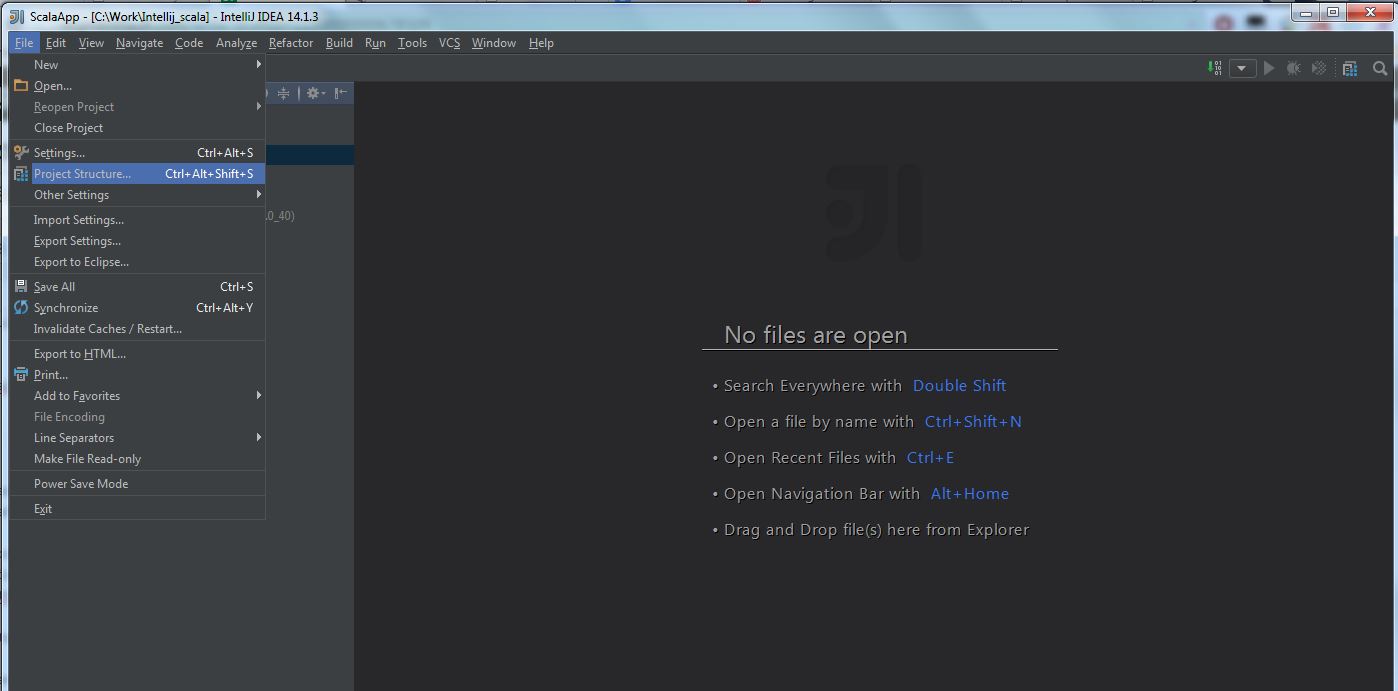
(1) Select “File” -> “Project Structure“:
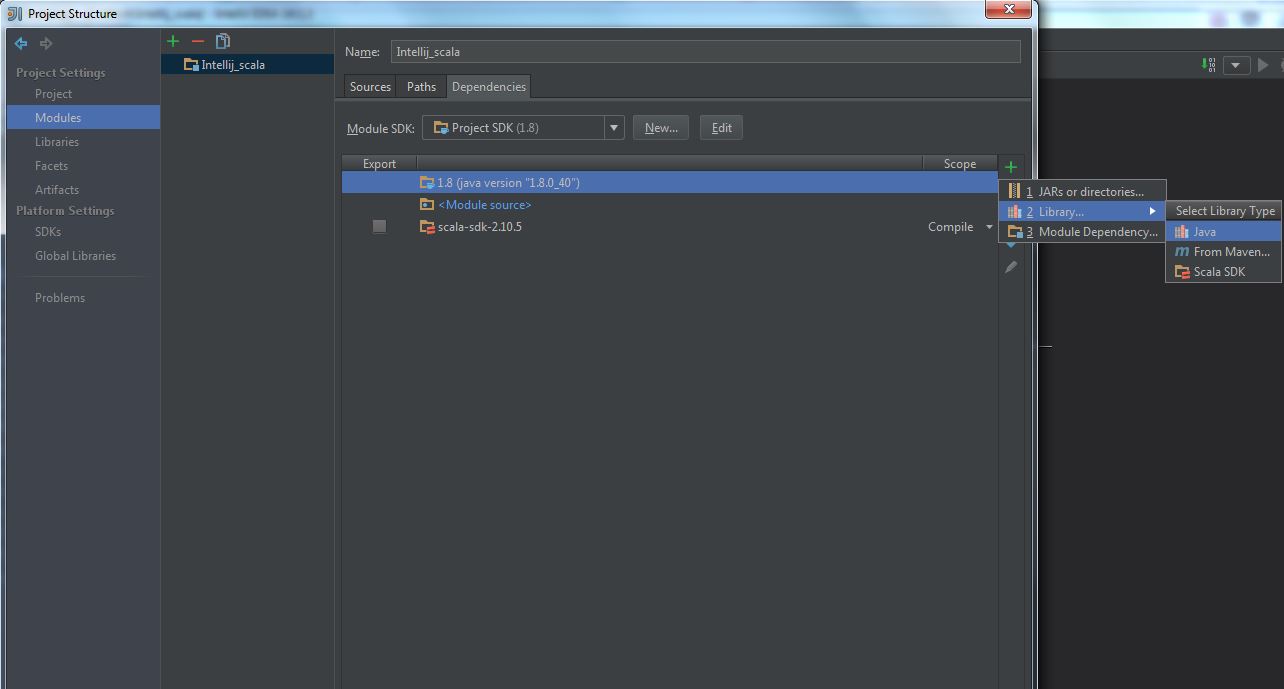
(2) Select “Modules” -> “Dependencies” -> “+” -> “Library” -> “Java“:
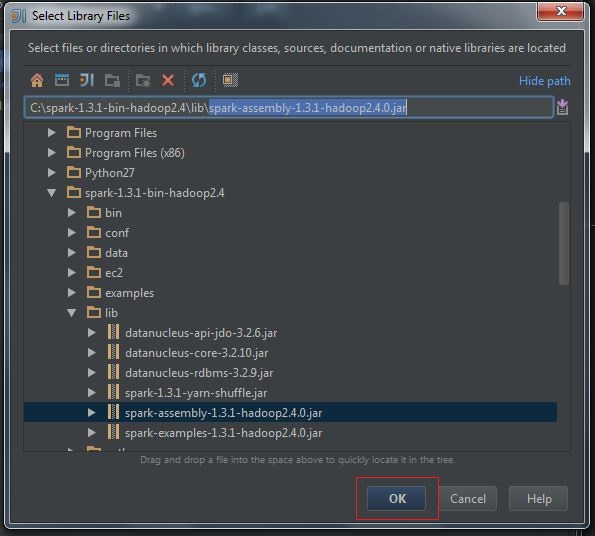
(3) Select spark-assembly-x.x.x-hadoopx.x.x.jar, press OK:
(4) Configure Library, press OK:

(5) The final configuration likes this:
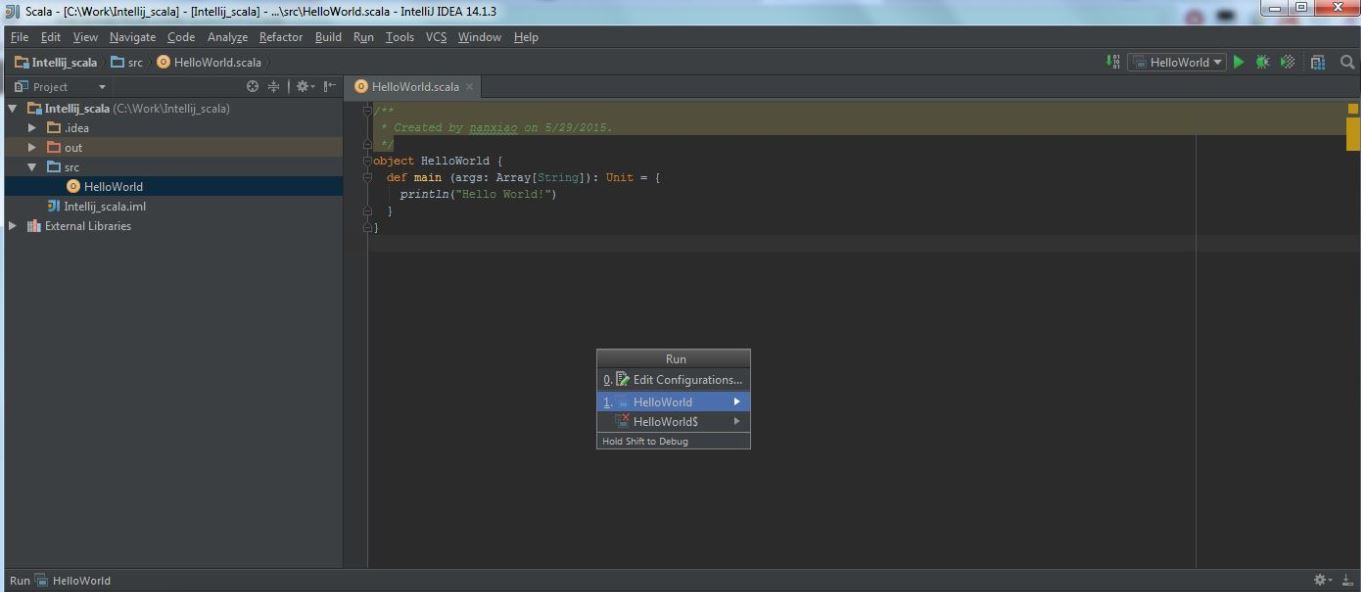
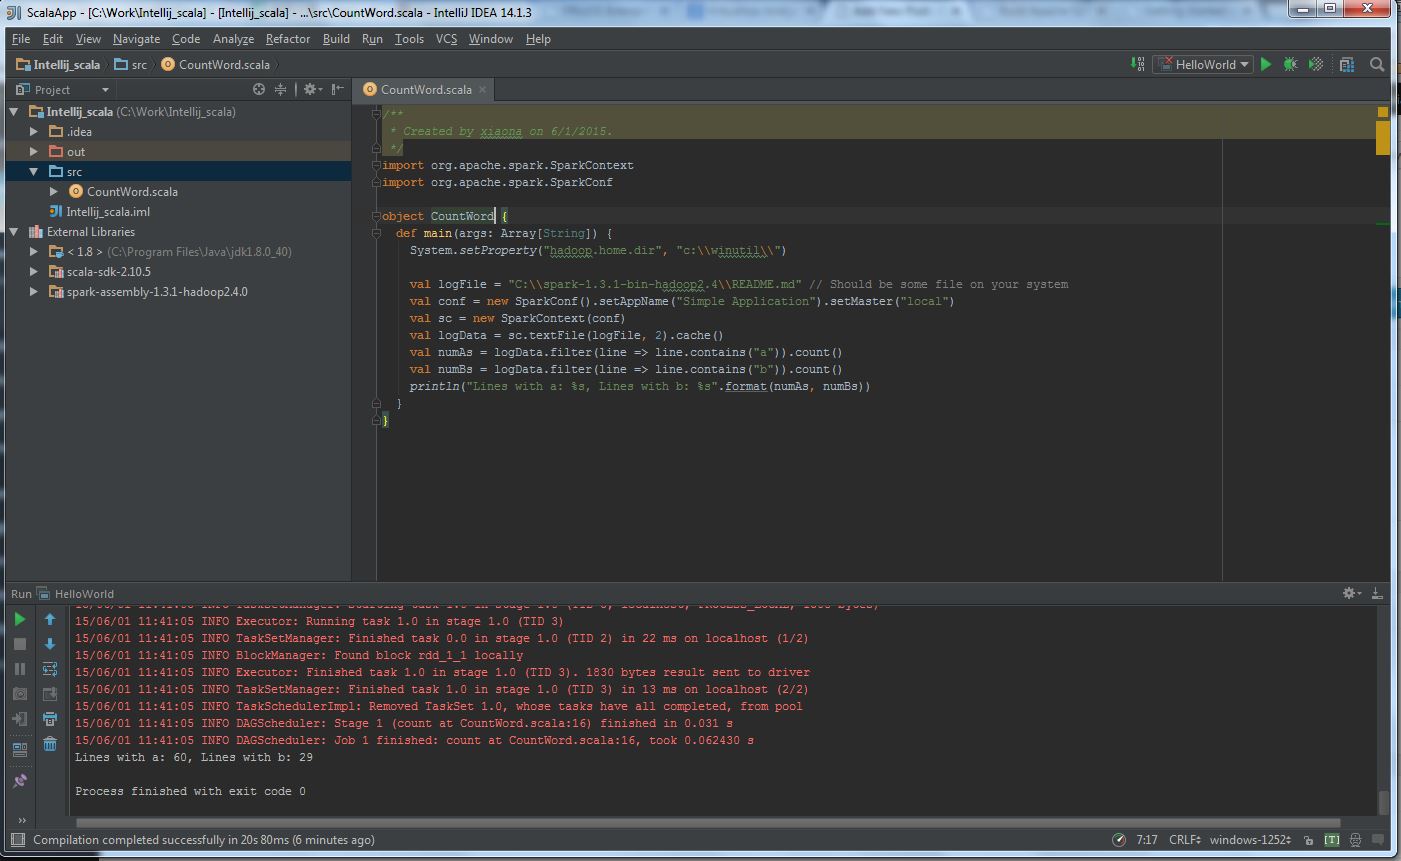
(6) Write a simple CountWord application:
import org.apache.spark.SparkContext
import org.apache.spark.SparkConf
object CountWord{
def main(args: Array[String]) {
System.setProperty("hadoop.home.dir", "c:\\winutil\\")
val logFile = "C:\\spark-1.3.1-bin-hadoop2.4\\README.md"
val conf = new SparkConf().setAppName("Simple Application").setMaster("local")
val sc = new SparkContext(conf)
val logData = sc.textFile(logFile, 2).cache()
val numAs = logData.filter(line => line.contains("a")).count()
val numBs = logData.filter(line => line.contains("b")).count()
println("Lines with a: %s, Lines with b: %s".format(numAs, numBs))
}
}
Please notice “System.setProperty("hadoop.home.dir", "c:\\winutil\\")” , You should downloadwinutils.exe and put it in the folder: C:\winutil\bin. For detail information, you should refer the following posts:
a) Apache Spark checkpoint issue on windows;
b) Run Spark Unit Test On Windows 7.
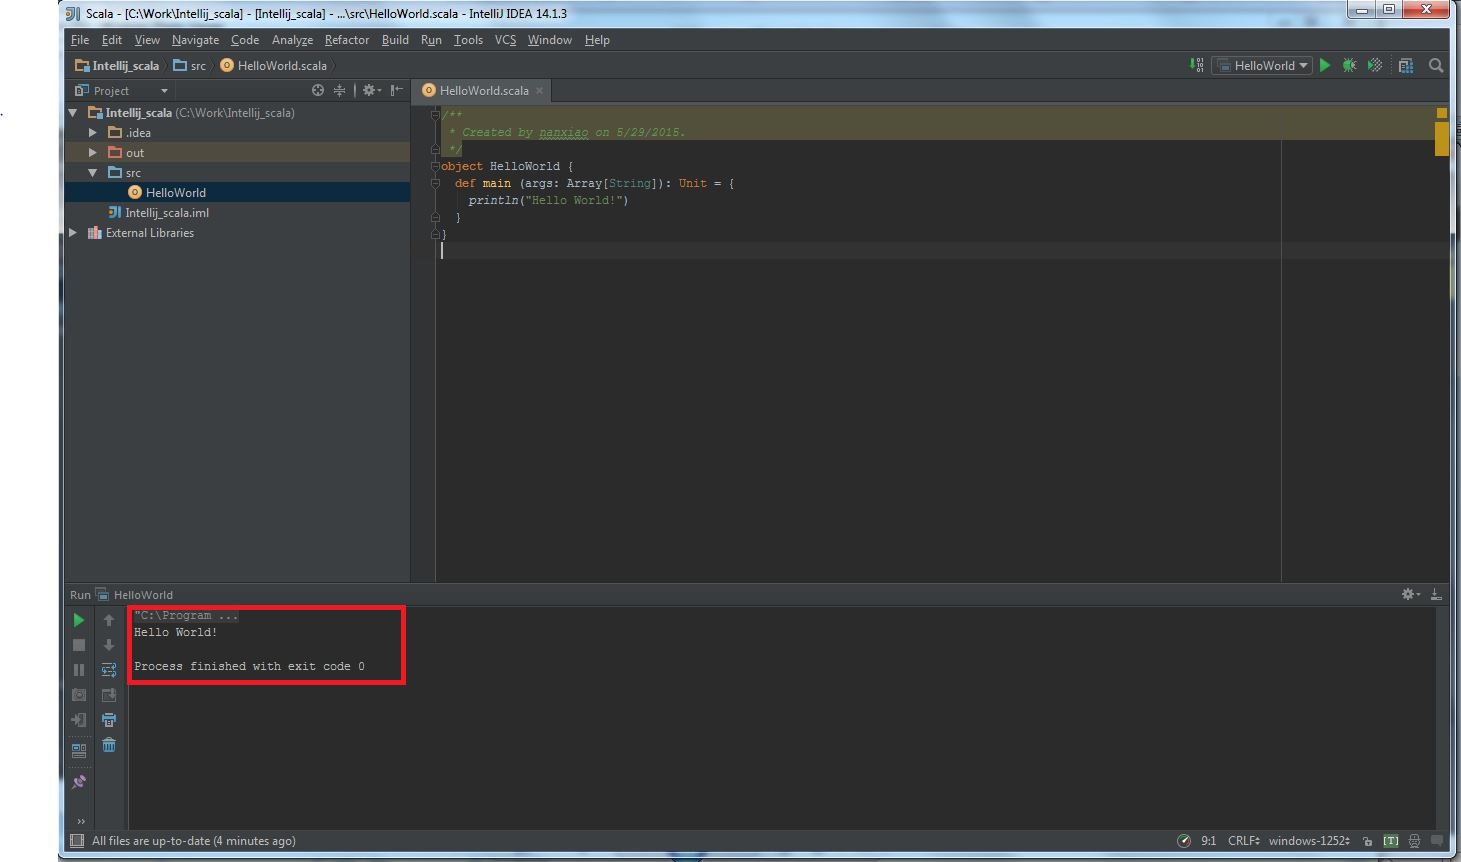
(7) The final execution likes this:
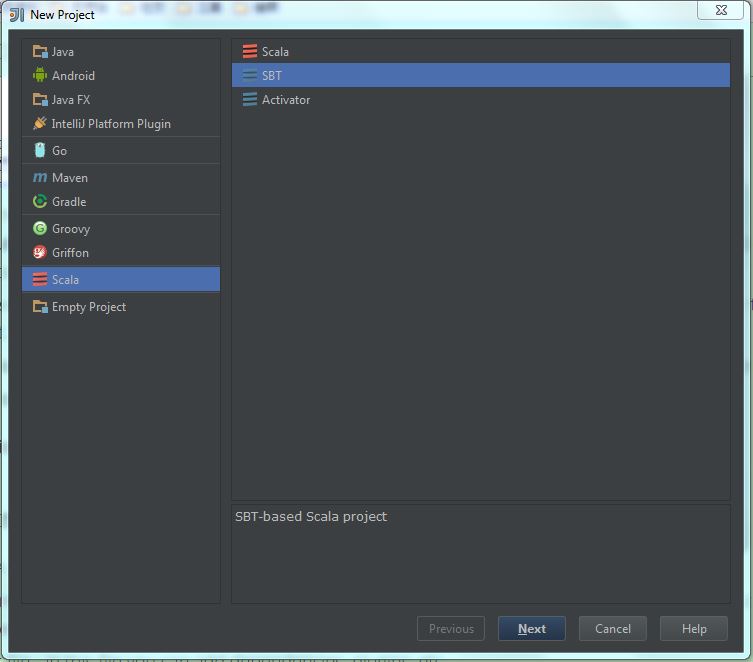
The following part introduces creating SBT project:
(1) Select “New project” -> “Scala” -> “SBT“, then click “Next“:
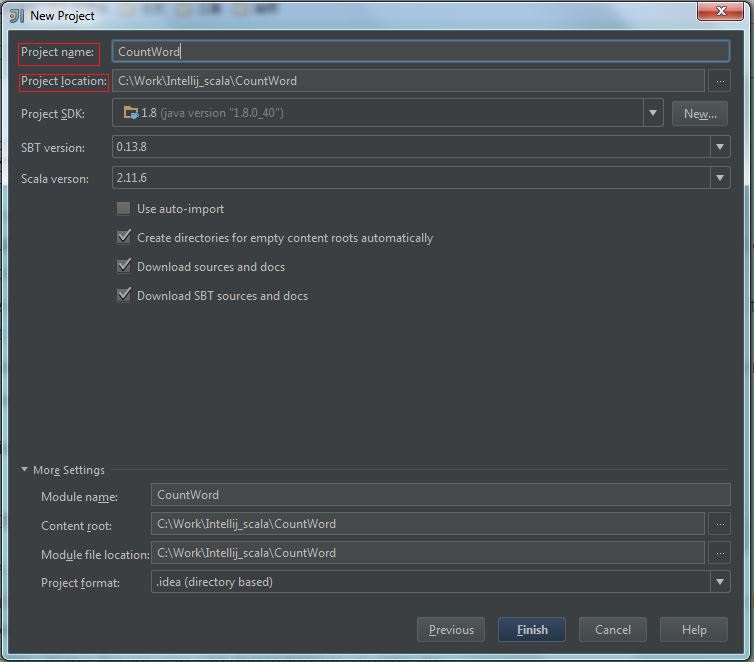
(2) Fill the “project name” and “project location“, then click “Finish“:
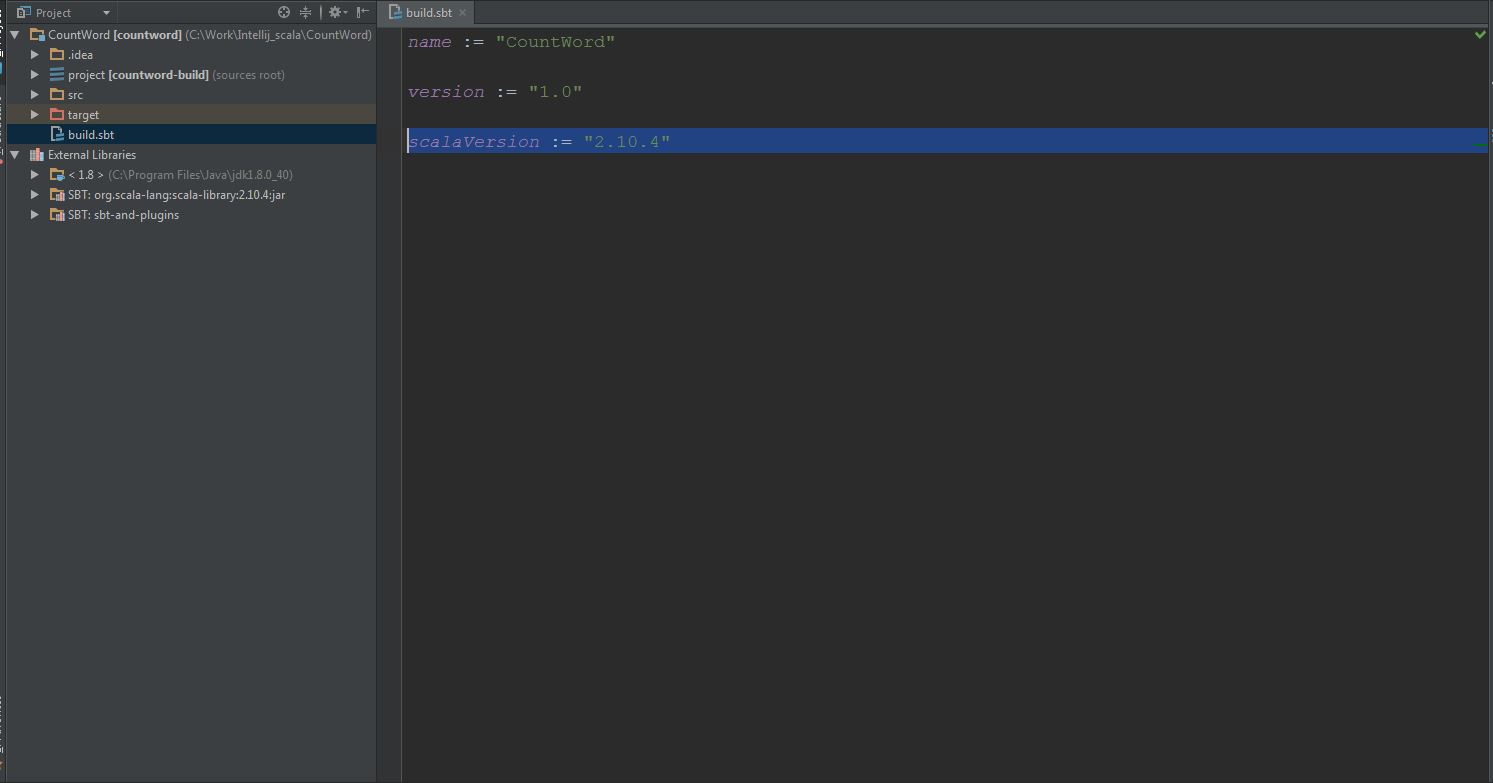
(3) In Windows, modify the scala version to 2.10.4 in build.sbt:
(4) Add spark package and create an scala object in “src -> main -> scala-2.10” folder, the final file layout likes this: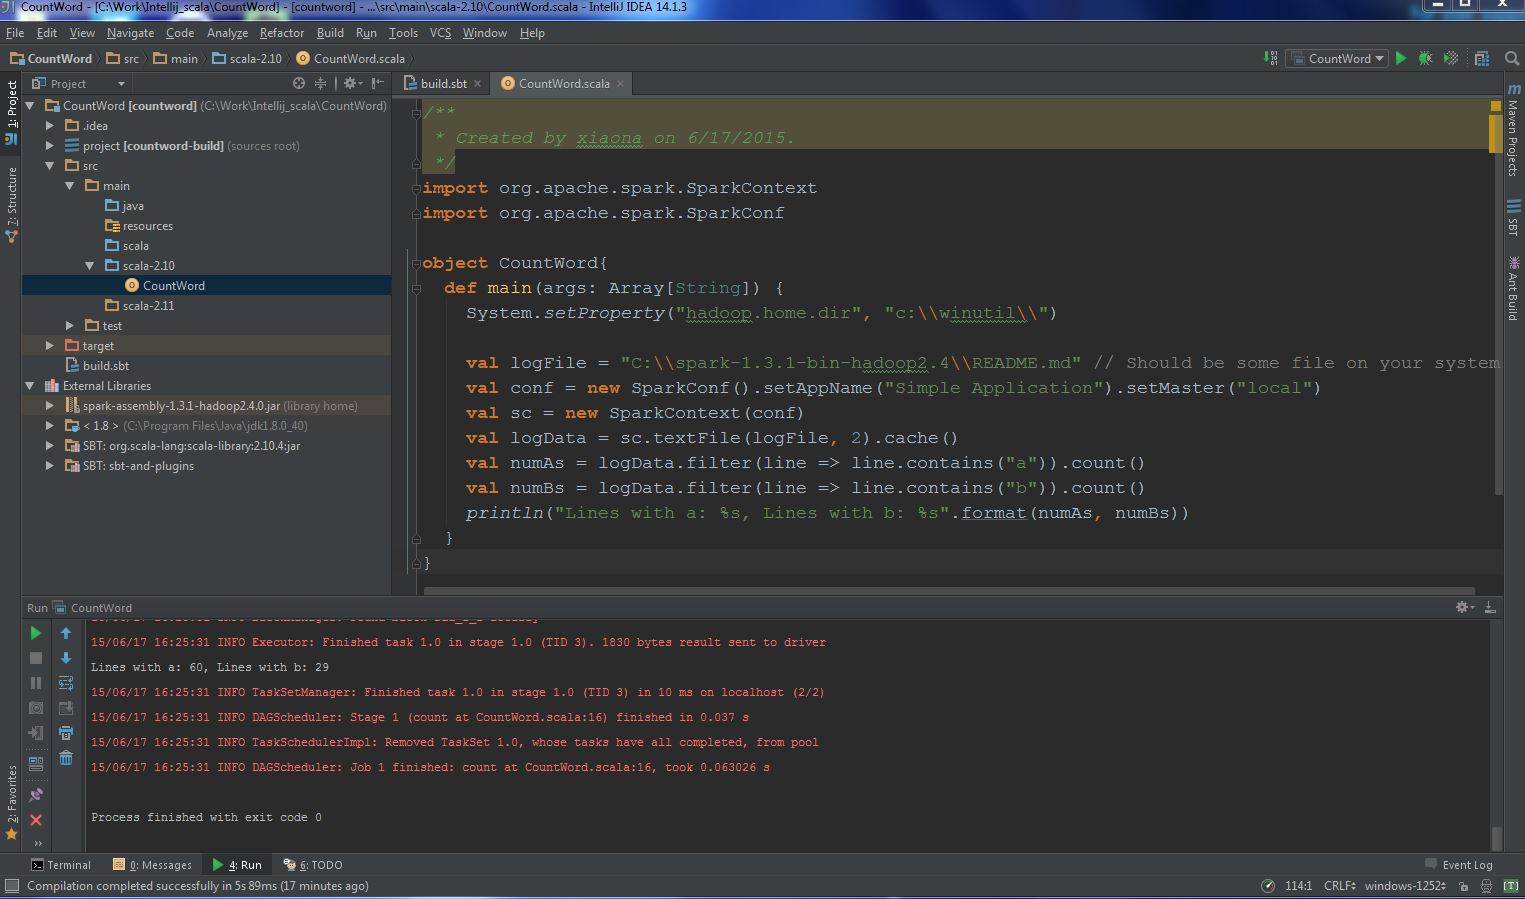 (5) Run it!
You can also build a jar file:
“File” -> “Project Structure” -> “Artifacts“, then select options like this:
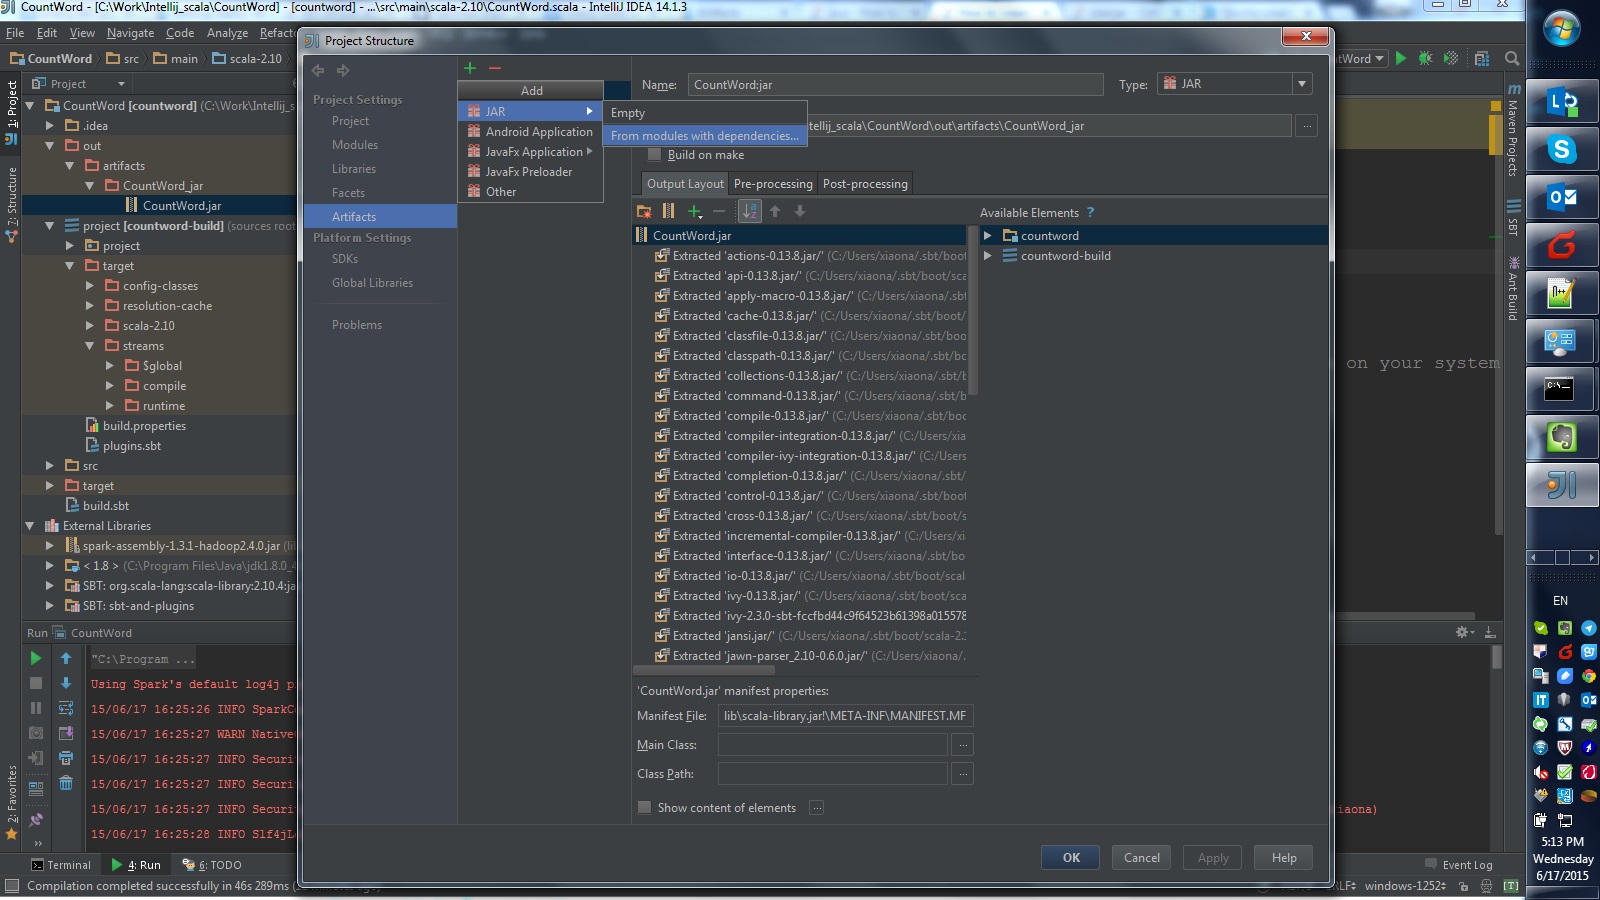
Refer this post in stackoverflow.
Then using spark-submit command execute jar package:
C:\spark-1.3.1-bin-hadoop2.4\bin>spark-submit --class "CountWord" --master local
[4] C:\Work\Intellij_scala\CountWord\out\artifacts\CountWord_jar\CountWord.jar
15/06/17 17:05:51 WARN NativeCodeLoader: Unable to load native-hadoop library fo
r your platform... using builtin-java classes where applicable
[Stage 0:>                                                          (0 + 0) / 2]
[Stage 0:>                                                          (0 + 1) / 2]
[Stage 0:>                                                          (0 + 2) / 2]

Lines with a: 60, Lines with b: 29